
The Ultimate Guide to Nestlé Toll House Cookies Chocolate Chips: Perfecting a Classic & Beyond
The Ultimate Guide to Perfect Nestlé Toll House Cookies: Tips, Tricks, and Timeless Taste
Few scents evoke such profound comfort and nostalgia as freshly baked chocolate chip cookies. And when it comes to the quintessential chocolate chip cookie, one name reigns supreme: Nestlé Toll House. More than just a brand, the Nestlé Toll House Chocolate Chip Cookie recipe is a cultural touchstone, a culinary institution that has graced countless kitchen counters and delighted generations of eager eaters. It’s the recipe many of us grew up with, the one etched into our memories, and often the first foray into home baking for aspiring confectioners.
But while the iconic yellow bag with its tried-and-true instructions seems simple enough, achieving that truly “perfect” Nestlé Toll House chocolate chip cookie – the one with the ideal balance of crispy edges, chewy center, and molten chocolate pockets – is an art form that can be refined with knowledge and practice. This comprehensive guide will take you far beyond the basic instructions, delving into the fascinating history, the crucial science behind each ingredient, advanced baking techniques, and creative variations to help you consistently bake the best Nestlé Toll House chocolate chip cookies you’ve ever tasted. Whether you’re a seasoned baker or just starting your journey, prepare to unlock the secrets to a truly unforgettable chocolate chip cookie experience.
The Enduring Legacy of the Nestlé Toll House Cookie
The story of the chocolate chip cookie is as delightful as the treat itself, intrinsically linked to Ruth Graves Wakefield and her Toll House Inn in Whitman, Massachusetts. In 1938, while developing a new cookie recipe, Wakefield, the inn’s owner and a trained dietitian, famously added chopped up bits of a Nestlé semi-sweet chocolate bar to her butter cookie dough, expecting them to melt and disperse. To her surprise, they held their shape, softening into luscious pockets within the golden cookie. The “Toll House Crunch Cookies” were an instant hit with her guests.
Word of her innovative creation spread quickly, and as the popularity of her cookies soared, so did the demand for Nestlé semi-sweet chocolate bars. Nestlé took notice and struck a deal with Wakefield: they would print her recipe on the back of their chocolate bar wrappers in exchange for a lifetime supply of chocolate. This strategic partnership cemented the Nestlé Toll House Chocolate Chip Cookie as a household name, making the recipe accessible to millions and ensuring its place in culinary history. Today, the Nestlé Toll House brand of chocolate chips and the beloved recipe continue to be synonymous with homemade comfort and unparalleled deliciousness, a testament to its enduring appeal and timeless taste.
The Original Nestlé Toll House Chocolate Chip Cookie Recipe: A Foundation of Flavor
Before we dive into the nuances and advanced techniques, let’s revisit the classic, foundational recipe that has stood the test of time. Understanding the original Nestlé Toll House recipe is the first step to mastering it.
Ingredients:
- 241 cups (about 270g) all-purpose flour (spooned and leveled)
- 1 teaspoon baking soda
- 1 teaspoon salt
- 1 cup (2 sticks or 226g) unsalted butter, softened to room temperature
- 43 cup (150g) granulated sugar
- 43 cup (165g) packed light brown sugar
- 1 large egg
- 1 teaspoon vanilla extract (pure vanilla is best)
- 1 package (12 oz or 340g) Nestlé Toll House Semi-Sweet Chocolate Morsels (or your preferred chocolate chips/chunks)
- 21 to 1 cup chopped nuts (optional, e.g., walnuts or pecans)
Equipment Needed:
- Large mixing bowl
- Electric mixer (stand mixer with paddle attachment or handheld mixer)
- Measuring cups and spoons
- Rubber spatula
- Baking sheets
- Parchment paper or silicone baking mats
- Wire cooling rack
- Cookie scoop (optional, but highly recommended for uniform cookies)
Step-by-Step Instructions:
- Preheat Oven & Prepare Baking Sheets: Preheat your oven to 375∘F (190∘C). Line baking sheets with parchment paper or silicone baking mats. This prevents sticking and promotes even baking.
- Combine Dry Ingredients: In a small bowl, whisk together the flour, baking soda, and salt. Set aside.
- Cream Butter and Sugars: In a large mixing bowl, beat the softened butter, granulated sugar, and brown sugar with an electric mixer on medium speed until light and fluffy. This typically takes 2-3 minutes. Scrape down the sides of the bowl as needed.
- Add Egg and Vanilla: Beat in the egg and vanilla extract until well combined. Continue beating for another minute until the mixture is smooth and creamy.
- Gradually Add Dry Ingredients: Gradually add the flour mixture to the wet ingredients, mixing on low speed until just combined. Be careful not to overmix at this stage; overmixing can lead to tough cookies. Stop mixing as soon as no streaks of flour are visible.
- Stir in Chocolate Morsels (and Nuts): Remove the bowl from the mixer. Using a rubber spatula, stir in the chocolate morsels (and nuts, if using) until evenly distributed throughout the dough.
- Scoop Dough: Drop rounded tablespoons of dough (or use a cookie scoop for uniform size) onto the prepared baking sheets, leaving about 2 inches between each cookie.
- Bake: Bake for 9-11 minutes, or until the edges are golden brown and the centers are still slightly soft. Baking time can vary depending on your oven and cookie size.
- Cool: Remove the baking sheets from the oven. Let the cookies cool on the baking sheets for 2-3 minutes before transferring them to a wire rack to cool completely. This crucial step allows the cookies to set and prevents them from breaking.
- Serve & Enjoy: Once cooled, stack and enjoy your perfectly baked Nestlé Toll House chocolate chip cookies!
Deciphering the Science of the Perfect Cookie
Baking is a delightful blend of art and science. Understanding how each ingredient interacts and how various techniques influence the final product will empower you to consistently bake the best chocolate chip cookies.
The Role of Ingredients:
- Butter (Unsalted & Room Temperature): Unsalted butter gives you control over the overall saltiness of the cookie. Critically, butter at room temperature (around 68−70∘F/20−21∘C) is essential for proper creaming. When butter is too cold, it won’t cream properly, leading to dense cookies. If it’s too warm (melted), it can make your cookies spread too much and become greasy. Room temperature butter incorporates air more effectively during creaming, contributing to a lighter, more tender crumb.
- Sugars (Granulated and Brown): The combination of granulated (white) and brown sugar is key to the Nestlé Toll House cookie’s signature texture and flavor.
- Granulated Sugar: Contributes to crispness and promotes spreading. Its crystalline structure creates air pockets when creamed with butter.
- Brown Sugar: Contains molasses, which adds moisture, chewiness, and a richer, caramel-like flavor. The acidity in brown sugar also reacts with baking soda, aiding in leavening. A higher ratio of brown sugar to white sugar will result in a chewier, softer cookie.
- Eggs: Large eggs (typically one) act as a binder, holding the ingredients together. The protein in eggs adds structure, while the fat contributes to richness and tenderness. They also contribute moisture.
- Flour (All-Purpose): All-purpose flour provides the structural framework for the cookie. It contains gluten, which develops when mixed with liquid. Measuring flour correctly is paramount. Spoon flour into your measuring cup and then level it off with a straight edge (like the back of a knife). Scooping flour directly from the bag compacts it, leading to too much flour and dry, crumbly cookies.
- Leavening Agents (Baking Soda): The Nestlé Toll House recipe calls for baking soda, which is a base. It needs an acid (like the molasses in brown sugar) to react and produce carbon dioxide gas, creating air bubbles that make the cookies rise and spread. This reaction contributes to the cookie’s characteristic texture and slight chewiness. If your cookies are consistently flat, check the freshness of your baking soda.
- Salt: Far from just a flavor enhancer, salt plays a crucial role in balancing the sweetness of the sugars and chocolate, making the overall flavor profile more complex and appealing. Don’t omit or reduce it unless specifically advised.
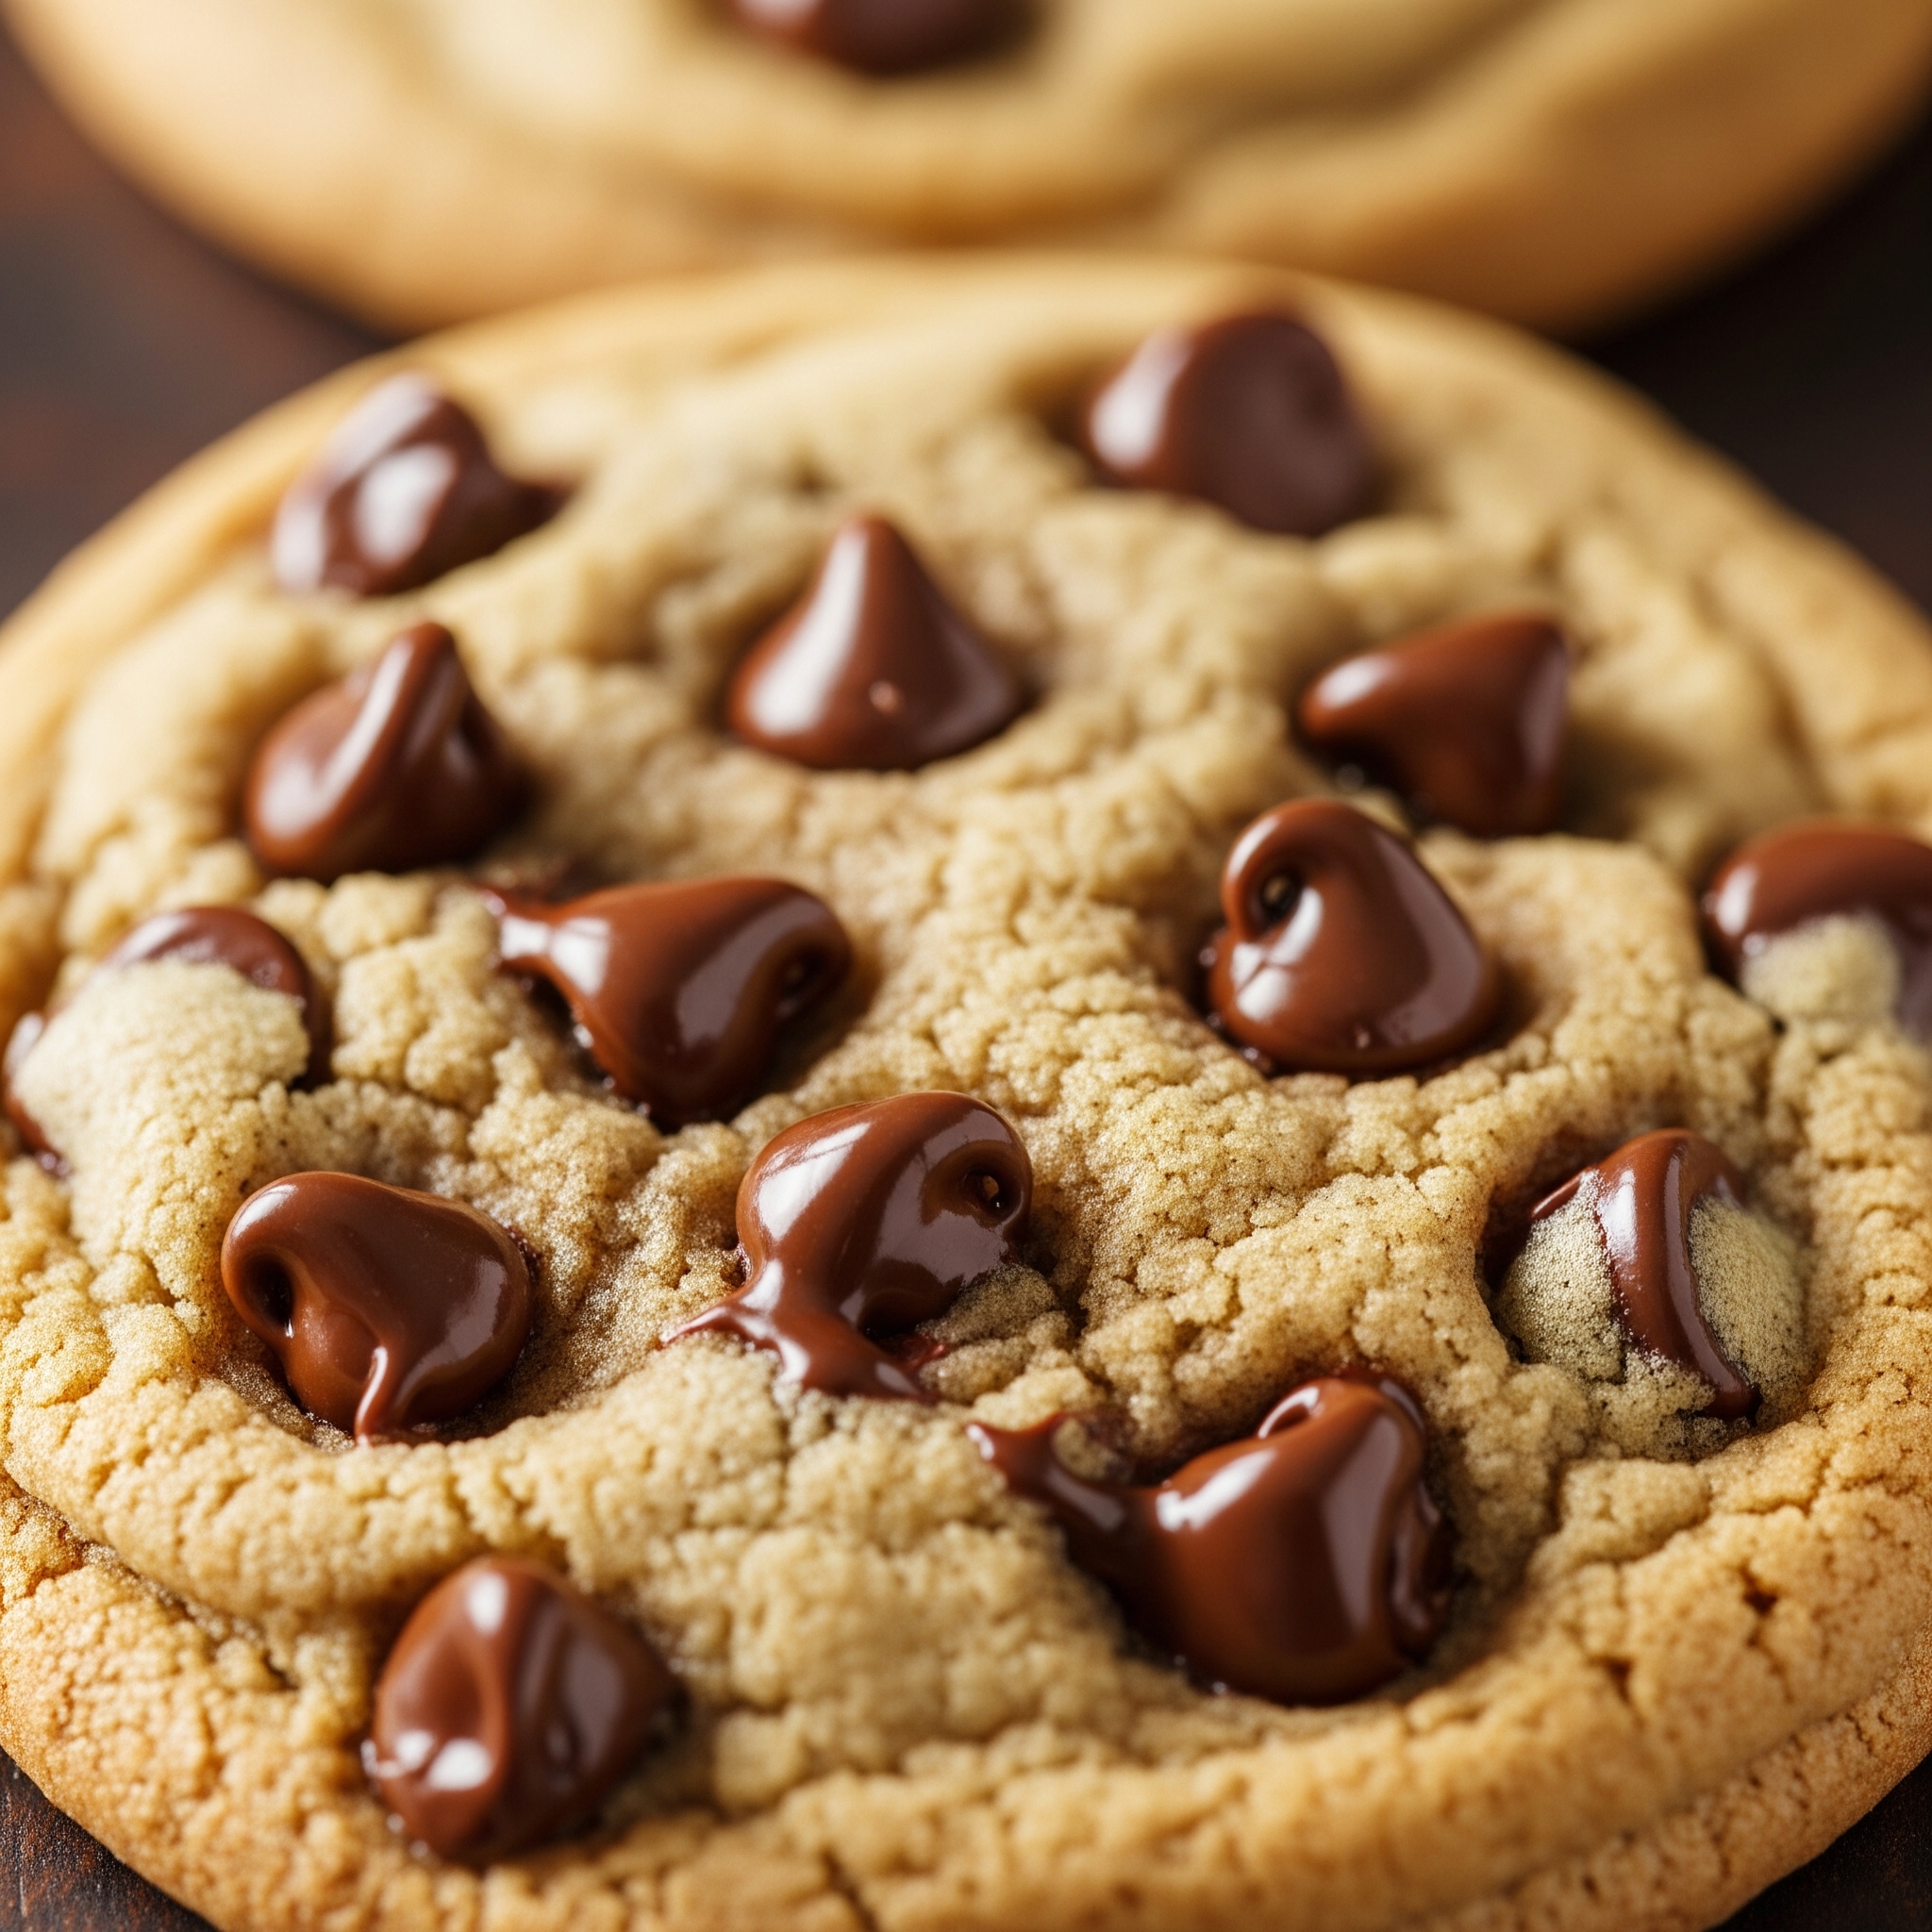
- Chocolate Chips: Nestlé Toll House semi-sweet chocolate morsels are the classic choice, designed to hold their shape while melting to create delicious pockets of gooey chocolate. While semi-sweet is traditional, experimenting with milk, dark, or even white chocolate chips, or a combination, can significantly alter the flavor profile. Quality chocolate chips will melt more smoothly and taste better.
The Art of Mixing:
- Creaming Butter and Sugar: This is arguably the most critical step for achieving light and airy cookies. When butter and sugars are beaten together, tiny air pockets are incorporated into the mixture. These air pockets expand during baking, contributing to the cookie’s rise and tender crumb. Cream until the mixture is noticeably lighter in color and fluffy, not just combined.
- Adding Eggs: Add eggs one at a time, mixing well after each addition. This ensures the egg is fully incorporated and emulsified into the butter-sugar mixture, leading to a smoother dough.
- Incorporating Dry Ingredients: Mix the dry ingredients into the wet ingredients on low speed, just until no streaks of flour remain. Overmixing is a common pitfall. Overmixing develops gluten in the flour, resulting in tough, dry, and often crumbly cookies. As soon as the flour disappears, stop the mixer.
- Folding in Chocolate Chips: After the dry ingredients are just combined, use a rubber spatula to gently fold in the chocolate chips (and nuts, if using). This ensures they are evenly distributed without overworking the dough.
Mastering the Bake: Achieving Your Desired Cookie Texture
The journey from dough to a perfectly baked cookie involves more than just setting a timer. Mastering the baking process allows you to influence the final texture, whether you prefer soft, chewy, or slightly crispy.
- Cookie Sheet & Parchment Paper: Always use light-colored baking sheets as dark ones can absorb too much heat, causing the bottom of your cookies to brown too quickly or even burn. Lining your baking sheets with parchment paper or silicone baking mats is essential. They prevent sticking, ensure even heat distribution, and make cleanup a breeze.
- Scooping Dough: For consistent baking and appearance, a cookie scoop is your best friend. A 1.5-tablespoon scoop (often labeled as #40) is standard for average-sized cookies. Place dough balls about 2 inches apart to allow for proper spreading.
- Oven Temperature & Preheating: Ensure your oven is fully preheated to 375∘F (190∘C) before putting in your cookies. An inaccurate oven temperature or putting cookies into a cold oven can lead to inconsistent results. Consider investing in an oven thermometer to verify your oven’s accuracy.
- Baking Time: The listed baking time of 9-11 minutes is a guideline. The exact time will depend on your oven, the size of your cookies, and your desired texture.
- For Chewier Cookies: Bake until the edges are just set and golden brown, but the centers still look slightly pale and undercooked. They will continue to bake slightly on the hot baking sheet.
- For Crispier Edges: Bake until the edges are golden brown all around and the center appears set.
- Visual Cues: Look for lightly golden edges and a slightly puffy center. If the centers are still wet-looking, they need more time.
- Cooling Process: This is a crucial, often overlooked step.
- On the Baking Sheet: Leave cookies on the hot baking sheet for 2-3 minutes after removing from the oven. This allows them to continue cooking slightly from residual heat, firm up, and prevent them from falling apart when transferred.
- On a Wire Rack: Transfer the partially set cookies to a wire rack to cool completely. Air circulation around the cookies helps them cool evenly and prevents them from becoming soggy on the bottom.
Troubleshooting Common Issues:
Even with the classic Nestlé Toll House recipe, things can sometimes go awry. Here’s how to diagnose and fix common chocolate chip cookie problems:
- Flat Cookies:
- Warm Butter: If your butter was too soft or melted, it won’t hold air and will cause excessive spreading.
- Too Much Sugar: An imbalance of sugar can contribute to spreading.
- Old Baking Soda: Baking soda loses its efficacy over time. Test by adding a teaspoon to a bit of vinegar; it should fizz vigorously.
- Greased Baking Sheet: If you grease your baking sheet instead of using parchment, the cookies will spread more.
- Over-Creaming: Over-creaming can sometimes incorporate too much air initially, which then collapses, leading to flat cookies.
- Too High Oven Temperature: A very hot oven can cause rapid spreading before the structure sets.
- Hard/Dry Cookies:
- Too Much Flour: Incorrectly measured flour (scooping vs. spooning and leveling) is a common culprit.
- Overmixing: Overworking the dough develops gluten, leading to tough cookies.
- Overbaking: Baking for too long removes too much moisture.
- Greasy Cookies:
- Melted Butter: As mentioned, if butter is too warm, it separates and can lead to a greasy texture.
- Too Much Butter: Double-check your measurements.
- Cookies That Don’t Spread:
- Too Cold Butter: Butter that’s too cold won’t cream properly, resulting in dense dough that doesn’t spread.
- Not Enough Sugar/Fat: An insufficient amount of these ingredients can hinder spreading.
- Too Much Flour: Similar to dry cookies, excess flour makes the dough too stiff.
- Cookies That Spread Too Much:
- Oven Temperature Too Low: If the oven is too cool, the cookies spread before they have a chance to set.
- Overly Soft Butter: As discussed, this can lead to excessive spreading.
- Not Enough Flour: An imbalance of ingredients can make the dough too loose.
Elevating Your Nestlé Toll House Cookies: Advanced Tips & Variations
Once you’ve mastered the classic, why not experiment and take your Nestlé Toll House chocolate chip cookies to the next level?
- Chilling the Dough: This is arguably the most impactful advanced tip. Chilling the dough for at least 30 minutes, or even overnight (up to 72 hours), yields incredible results.
- Deeper Flavor: As the dough rests, the flavors meld and deepen, especially the molasses notes from the brown sugar.
- Improved Texture: The butter re-solidifies, leading to less spreading and thicker, chewier cookies. It also hydrates the flour more thoroughly, creating a more uniform texture.
- A Sprinkle of Sea Salt: A tiny pinch of flaky sea salt (like Maldon) sprinkled on top of the cookies immediately after they come out of the oven enhances the sweetness of the chocolate and adds a sophisticated flavor contrast.
- Adding Extracts: While vanilla is essential, consider adding a touch of almond extract (1/4 teaspoon) for a nuanced flavor, or even a hint of espresso powder (1/2 teaspoon) to deepen the chocolate flavor without making the cookies taste like coffee. Vanilla bean paste can also offer a richer vanilla presence.
- Mix-Ins Beyond Chocolate Chips: The possibilities are endless for customizing your Nestlé Toll House cookies:
- Nuts: Toasted walnuts, pecans, or almonds. Toasting them beforehand enhances their flavor.
- Other Candies: M&Ms, chopped caramel candies, toffee bits.
- Dried Fruit: Chopped dried cranberries, cherries, or apricots (adds chewiness and tartness).
- Coconut: Shredded or flaked coconut, toasted for extra flavor.
- Pretzels: Crushed pretzels for a salty-sweet crunch.
- Oats: A small amount of rolled oats (e.g., 41 cup) can add a subtle chewiness and wholesome texture.
- Chocolate Chip Combinations: Don’t limit yourself to just semi-sweet. Use a blend of dark chocolate chunks, milk chocolate chips, and white chocolate chips for a complex chocolate experience. High-quality baking chocolate, chopped into irregular chunks, can also create delightful pockets of molten chocolate.
- Brown Butter: For a nutty, caramel-like depth of flavor, brown your butter before creaming. Melt the butter in a saucepan over medium heat, stirring constantly, until it turns amber and smells nutty. Let it cool slightly before using in the recipe (you may need to add a couple of ice cubes if it’s too hot, then bring it back to room temperature).
- Cookie Bar Version: Press the entire batch of dough into a greased and parchment-lined 9×13 inch baking pan. Bake at 350∘F (175∘C) for 25-30 minutes, or until the edges are golden and a toothpick inserted into the center comes out with moist crumbs. Cut into bars once cooled.
- Stuffed Cookies: For an indulgent treat, flatten a portion of dough, place a small piece of caramel candy, a spoonful of peanut butter, or a miniature marshmallow in the center, and then wrap the dough around it, sealing completely before baking.
Storage and Shelf Life
Proper storage ensures your homemade Nestlé Toll House chocolate chip cookies remain fresh and delicious for as long as possible.
- Storing Baked Cookies: Once completely cooled, store cookies in an airtight container at room temperature for up to 3-5 days. To keep them extra soft, you can place a slice of bread in the container; the cookies will absorb moisture from the bread.
- Freezing Baked Cookies: Baked cookies freeze beautifully for up to 3 months. Arrange cooled cookies in a single layer on a baking sheet and freeze until solid. Then transfer to an airtight, freezer-safe bag or container, separating layers with parchment paper. Thaw at room temperature or gently warm in the microwave.
- Freezing Cookie Dough: Freezing raw cookie dough is a fantastic way to have fresh, warm cookies on demand. Scoop individual balls of dough onto a parchment-lined baking sheet and freeze until solid (about 1-2 hours). Transfer the frozen dough balls to an airtight, freezer-safe bag. Label with the date. Frozen dough can be stored for up to 3 months. When ready to bake, place frozen dough balls on a prepared baking sheet and bake as directed, adding 2-4 minutes to the baking time.
Frequently Asked Questions (FAQs)
- Can I use salted butter? Yes, you can, but reduce the added salt in the recipe by about 41 teaspoon to avoid overly salty cookies. Unsalted is generally preferred for more control.
- My cookies are always flat. What am I doing wrong? This is a very common issue! Check if your butter is too warm/melted, if your baking soda is old, or if you’re baking on a greased (not parchment-lined) sheet. Chilling the dough can also help immensely.
- What’s the best way to measure flour? Spoon your flour into the measuring cup and then level it off with a straight edge. Do not scoop directly from the bag.
- Can I make these gluten-free? While the original recipe uses all-purpose flour, you can experiment with a 1:1 gluten-free baking flour blend. Results may vary slightly in texture.
- How do I make my cookies chewy? Use more brown sugar than white sugar, don’t overbake, and consider chilling your dough.
- Can I make the dough ahead of time? Absolutely! Chilling the dough for at least 30 minutes improves flavor and texture. You can refrigerate the dough for up to 3 days.
- Why are my cookies hard after cooling? This is often due to overbaking or using too much flour. Ensure you measure flour correctly and remove cookies from the oven when the centers are still slightly soft.
- What kind of chocolate chips are best? Nestlé Toll House Semi-Sweet Morsels are the classic for a reason, designed to melt beautifully while holding shape. However, using a mix of different chocolate types (milk, dark, white) or high-quality chocolate chunks can elevate the flavor.
Conclusion
The Nestlé Toll House Chocolate Chip Cookie recipe is more than just a list of ingredients and instructions; it’s an invitation to create warmth, happiness, and timeless memories in your kitchen. From its fascinating origins to the scientific intricacies of its ingredients and the endless possibilities for customization, this classic cookie continues to captivate and satisfy. By understanding the fundamentals, mastering the techniques, and perhaps daring to experiment, you can consistently bake perfect chocolate chip cookies that are crispy on the edges, delightfully chewy in the center, and bursting with rich, molten chocolate. So, preheat your oven, gather your ingredients, and embark on your journey to perfecting this beloved American classic. Happy baking!